Join our Telegram Channel
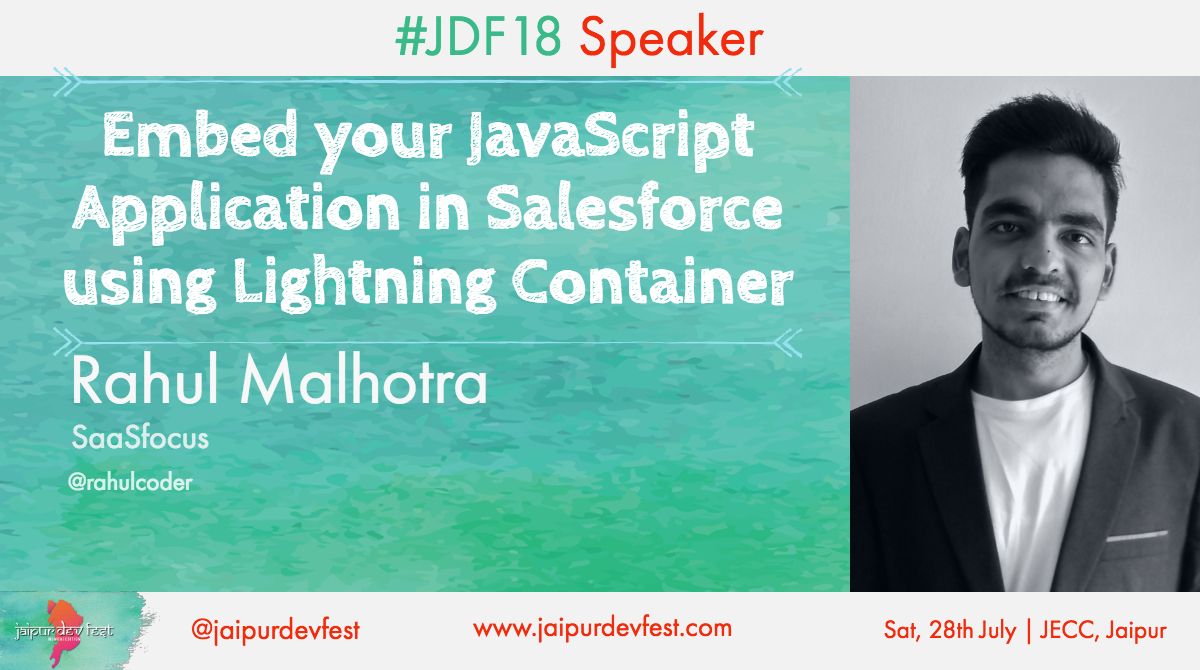
Hello Trailblazers, In this post I am going to tell you, how you can embed a custom javascript application made using any Js framework like:- React Js, Angular Js etc. within Salesforce Lightning Component. This post is a follow-up for my session at Jaipur Developer Fest 2018. I am going to give you all the resources required to get started with this concept as well as tell you a brief description about Lightning Container and it's implementation. As I have worked on React Js before switching onto Salesforce, I am going to make a sample React Application for the demo. Before moving ahead, let's have a look at presentation first:-
The lightning container component hosts your custom JavaScript application in an iframe within your lightning pages. As described before, you can embed any js application in salesforce lightning component using lightning container.
What is the need of Lightning Container ?
Traditional methods focus on using an iframe to embed a third party javascript application in salesforce and use that. Below are some common questions that arises using this traditional approach :-
- Why host that application onto some other server ? Use iframe to connect with that even if I need to use it within Salesforce Org only ?
- Why develop and use custom Salesforce APIs for data sync when I have other better methods to connect with Salesforce ?
Another common reason can be:- even with the evolution of Lightning, most Salesforce Developers use custom js frameworks to build UI and move towards a better looking visualforce page. However, I'll suggest you to move to Lightning because this is the best thing you can do but still Salesforce has now given you a platform to build your application in js framework of your choice and embed that in Lightning Component to use.
Features of Lightning Container
- Lightning Container allows you to use an application developed in 3rd party framework like:- Angular, React Js etc. in Lightning Component.
- Lightning Component can handle messages as well as errors from your embedded app in it's controller.
- In the same way as above, the embedded javascript application can also handle messages as well as errors, from your lightning component
- You can also call apex from your custom lightning:container application
Lightning Container Implementation
If you want to gain more theoretical knowledge about Lightning Container, kindly refer to the above presentation as now we're going to dig deep into code and embed a sample react application in Lightning Component. As we're going to develop a react application, there are some pre-requisites for your system:-
- You must have nodejs installed into your system, download it from here
- npm (node package manager) is automatically installed when you install nodejs.
- Download and install git from here.
I have made a full boilerplate code for you to get started with Lightning Container along with the sample implementation of all the methods available.
Once you have nodejs and npm installed, next step is to star my github repository so that you don't lose access to it in future and clone it using the command below github repository :-
Once you have nodejs and npm installed, next step is to star my github repository so that you don't lose access to it in future and clone it using the command below github repository :-
Open Git Bash or cmd and use the above command to clone my boilerplate repository into your system. Once you have my repository cloned, switch to lightning-container-boilerplate directory and hit npm install command. (To switch in windows, use cd lightning-container-boilerplate and hit enter in the command line when you have cloned the repository successfully).
npm install command will install all the dependencies needed by our react boilerplate application and also the dependencies needed by our js app to connect with Salesforce. Salesforce has provided easy to use npm modules to use in your custom js app to establish a connection between both. A brief description about the npm modules is given below:-

If you make any changes, then to create a production build, you again open another terminal and move to the same lightning-container-boilerplate directory and run npm run build command. This will create a production build for application that we can upload as a static resource in our Salesforce Org and use it from there to embed in our lightning component. Once you've created a production build, you'll see a build/ folder into your base lightning-component-boilerplate folder. Now, we have to zip this build folder and upload it as a static resource in Salesforce.
Just make sure that, you append the above code in the manifest.json file generated in the build folder generated after creating a production build. If there is no such file, create one and add this code surrounded by { } which is the standard format of json file. This is required to specify that our custom js app is dealing with the apex controller which is mentioned in the code above and I have specified the apex-controller as LightningControllerBoilerplate which is the one I am using.
I hope you liked this blog and if you want this session to happen again or want a video about the same let me know in comments. Sharing a picture of my session at JDF below:-

Sharing my twitter moment below:-
And I am also embedding my first VLOG made at #JDF18. Do watch it and let me know if you liked it or any suggestions for further VLOGs :P
Happy Trailblazing..!!
npm install command will install all the dependencies needed by our react boilerplate application and also the dependencies needed by our js app to connect with Salesforce. Salesforce has provided easy to use npm modules to use in your custom js app to establish a connection between both. A brief description about the npm modules is given below:-
- lightning-container:- This npm module is a must have to establish the communication between your javascript application and lightning component. It consists of methods like:- sendMessage, callApex, addMessageHandler, addErrorHandler etc.
- @salesforce-ux/design-system:- This module consists of all the slds classes that we can use in our custom js application to give it a proper look and feel of lightning.
Once you have cloned the github repository and installed the dependencies, you need to hit npm start command. Once you type this and hit enter, your react application will start running on port 3000 and you'll have something like given below:-

This is our react application that we're going to embed in lightning component using lightning:container. You'll see a build/ folder into your base lightning-component-boilerplate folder. Now, we have to zip this build folder and upload it as a static resource in Salesforce. While you're uploading it to your salesforce org, just make sure that you give the static resource name exactly as lightningcontainerboilerplate. This is because our lightning component can only find our application with this name. If you see in the base (lightning-component-boilerplate) folder, we have an .env file that consists of the below content:-
As you can see above, we're specifying our static resource name in the PUBLIC_URL of our application so that it can be easily embedded. If you look at the contents of the base folder, we also have an apex folder there. That apex folder consists of all the apex code that we need to add into our Salesforce Org. If you explore the apex folder more, you'll see the src folder in that in which further will consist of 2 folders:- aura and classes. In the aura folder, I have made a lightning component named lightningcontainerboilerplate and to test that, I have made a lightning application too named lightningcontainerboilerplateapp. In the classes folder, I have a single class named LightningContainerBoilerplate which is called in our custom js application directly as an apex call.
Now, before moving to the code in custom js application, we'll have a look at the Salesforce code first.
Now, before moving to the code in custom js application, we'll have a look at the Salesforce code first.
LightningContainerBoilerplate.cls
Starting from the apex class, let's have a look at the below code:-
As you can see above, we have a single function in this class which returns a String and has a @RemoteAction annotation that takes a single parameter called name and insert a contact with the LastName of contact equal to the name passed in the parameter. After the contact is inserted, we're returning a string consisting of message - Contact inserted successfully along with the contact id. This method must have a remote action annotation then only we'll be able to call it from our custom js application and it should be global and static too.
LightningContainerBoilerplateApp.app
Now let's have a look at our app, as you can see that we have just called our lightningcontainerboilerplate component and our app is extending force:slds so that we can easily apply and use slds in our lightning component.
LightningContainerBoilerplate.cmp
Let's have a look at the code below:-
As you can see above, I have made a simple lightning component that I can embed in lightning pages, I have made a single attribute named myMessage which is of type String and displays the message received from the custom js react application. Then I have made two lightning cards, one has a title Lightning Component and other has a title JavaScript Application.
As you can see above, I have made a simple lightning component that I can embed in lightning pages, I have made a single attribute named myMessage which is of type String and displays the message received from the custom js react application. Then I have made two lightning cards, one has a title Lightning Component and other has a title JavaScript Application.
Lightning Component
I have divided the Lightning Component card into 3 parts as follows:-
- In first part, I am displaying myMessage attribute using {!v.myMessage}. This is the message received from react application.
- In the second part, I am displaying an input field with a label of Input Message and an aura:id as inputMessage in which I can input the text to send to my react js application.
- In the third part, I have made a simple button with a label Send Message which is calling sendMessage controller function on click and is responsible to send the message to the react application.
JavaScript Application
In this card, I have simply called lightning:container tag in which I have given a class named containerClass which we'll define in css. We've given it an aura:id of jsContainer and in the src attribute, I need to give the reference to static resource. So, I have given it as {! $Resource.lightningcontainerboilerplate + '/index.html' }. There are two more attributes named as onmessage and onerror in which I need to call some controller functions as the onmessage attribute controller function will be called when a message is received from react app and onerror attribute controller function will be called when there is an error while receiving message from the js container. I have specified handleMessage controller function in the onmessage attribute and handleError controller function in the onerror attribute.
LightningContainerBoilerplate.css
As you can see above, I have defined the containerClass here used in lightning:container tag and specified a height of 400px for my custom js react application.LightningContainerBoilerplateController.js
Now moving on to controller, let's have a look at the code below:-
As you can see above, handleMessage and handleError functions are responsible to handle the message and error from custom js application and were called from lightning:container attribute. Whereas, the sendMessage function takes the value of inputMessage (aura:id) input field and then send this value as a message to our react application using component.find('jsContainer').message(inputMessage); where jsContainer is the aura:id of lightning:container and message() is in the syntax to send any message to the container application.
React Js Application
Now, let's understand our sample react application that we used in this tutorial. This react application is made using create-react-app command. create-react-app is an npm module that you can install globally by using the command below:-
You can find more information about this npm module here. You can create a new react application by using create-react-app as follows:-
create-react-app <application-name>
If you create any application using the above command and then move to that app's folder and run npm start, you'll see the below page:-

I have only modified the code in app.js file and the updated code is given below:-
As you can see in the above code,
create-react-app <application-name>
If you create any application using the above command and then move to that app's folder and run npm start, you'll see the below page:-

I have only modified the code in app.js file and the updated code is given below:-
As you can see in the above code,
- First of all, we've imported the lightning-container module and also the css file of slds from @salesforce-ux/design-system module
- In the constructor, I have initialized the state with two keys:- messageReceived and messageToSend. A state is basically a javascript object that we can use for interaction within a component. The messageReceived object mainly consist of a type and a value so that we can use the same object to display different types of messages received (success and error). I have also binded all the functions used in my application. It is a react syntax to bind all the functions to use them.
- In the componentDidMount() which is like an init method for react and is called as the component is mounted, I have called addMessageHandler and addErrorHandler methods from the LCC package and passed the handleMessage and handleError methods in them to specify the methods that'll be responsible to handle the message and error respectively coming from lightning component.
- The handleMessage method is receiving the message in a variable named successMessage, creating a javascript object with a type - success and value with the message received in successMessage variable.I am setting the messageReceived in state with the newly created messageReceived object using this.setState({ messageReceived: messageReceived });
- Similarly in the handleError method, I am setting the messageReceived in state in the same way, the only difference is here the object has a type of error.
- Next we have sendMessage() which is calling LCC.sendMessage() that can pass a javascript object as it's parameter. Here, our javascript object consists of two things, a name and a value where I have hardcoded name as MyMessage and value is this.state.messageToSend i.e. the value of this key in the component state. This value I am going to set as I take input in the input field.
- Now, let's move down to the HTML code returned inside render() It has slds applied and consists of simple title and then a form which consists of an input field for entering the Last Name and two buttons, one to send a message to lightning component and other to save contact. Both buttons use the input provided in the last name field.
- On change of input in the lastname field, I am calling this.handleInputChange. In this method, we're getting the value of input field using event.target.value and storing it in message variable and I am setting the messageToSend in state with that message variable using this.setState({ messageToSend: message });
- The Save Contact button is an input of type submit on click of which, the form is submitted and in the form tag, we're calling this.callApexController method onSubmit of that form. If you see the callApexController method, I am preventing the default behaviour of form submission using event.preventDefault and then I am using LCC.callApex() to call the apex controller directly from this JS application.
- In LCC.callApex I am passing 4 parameters, first is the class and method name LightningContainerBoilerplate.createNewContact, the second is this.state.messageToSend which I have set on change in Last Name input before. The third is this.handleApexReturnValue which is the callback method to be called when we receive a response from apex controller and the fourth is {escape:true} which is to maintain security to escape special characters so that no malicious js code is passed in response from apex.
- In the handleApexReturnValue method, we're getting two parameters as specified by salesforce, first is the result which is the value returned by our apex controller method and second is the event which is used to get the status of apex call. Next, I have created a variable named messageReceived and checking if the event.status is true then the messageReceived is equal to an object with type apexsuccess and value as result received from apex controller method. Otherwise if event.type is exception, then we have an object with type as apexerror and the value as event.message concatenated with event.where else we have an object with type as apexerror and value as event.message only as it is not an exception but any other unknown error. Finally, I am setting the messageReceived state with messageReceived object.
- In the HTML code, below the form, we're checking the this.state.messageReceived.type and displaying different messages according to the state and then the value as this.state.messageReceived.value
If you make any changes, then to create a production build, you again open another terminal and move to the same lightning-container-boilerplate directory and run npm run build command. This will create a production build for application that we can upload as a static resource in our Salesforce Org and use it from there to embed in our lightning component. Once you've created a production build, you'll see a build/ folder into your base lightning-component-boilerplate folder. Now, we have to zip this build folder and upload it as a static resource in Salesforce.
Just make sure that, you append the above code in the manifest.json file generated in the build folder generated after creating a production build. If there is no such file, create one and add this code surrounded by { } which is the standard format of json file. This is required to specify that our custom js app is dealing with the apex controller which is mentioned in the code above and I have specified the apex-controller as LightningControllerBoilerplate which is the one I am using.
I hope you liked this blog and if you want this session to happen again or want a video about the same let me know in comments. Sharing a picture of my session at JDF below:-
Sharing my twitter moment below:-
And I am also embedding my first VLOG made at #JDF18. Do watch it and let me know if you liked it or any suggestions for further VLOGs :P
Happy Trailblazing..!!





 Posts
Posts